A simple trick to know when your homemade jam is ready to jar using the wrinkle test
One of the most common questions I hear from first-time jam makers is:
“How do I know when my jam is ready?”
If you’ve ever found yourself stirring a bubbling pot of fruit, wondering whether it’s thick enough yet, you’re not alone. A great way to check is to use the wrinkle test.
That’s where the wrinkle test comes in — an old-fashioned, no-fuss method that’s been used in home kitchens for generations. No fancy thermometers. No guesswork. Just a chilled plate and a spoon.
Let me walk you through it — step by step.
🥄 What Is the Wrinkle Test?
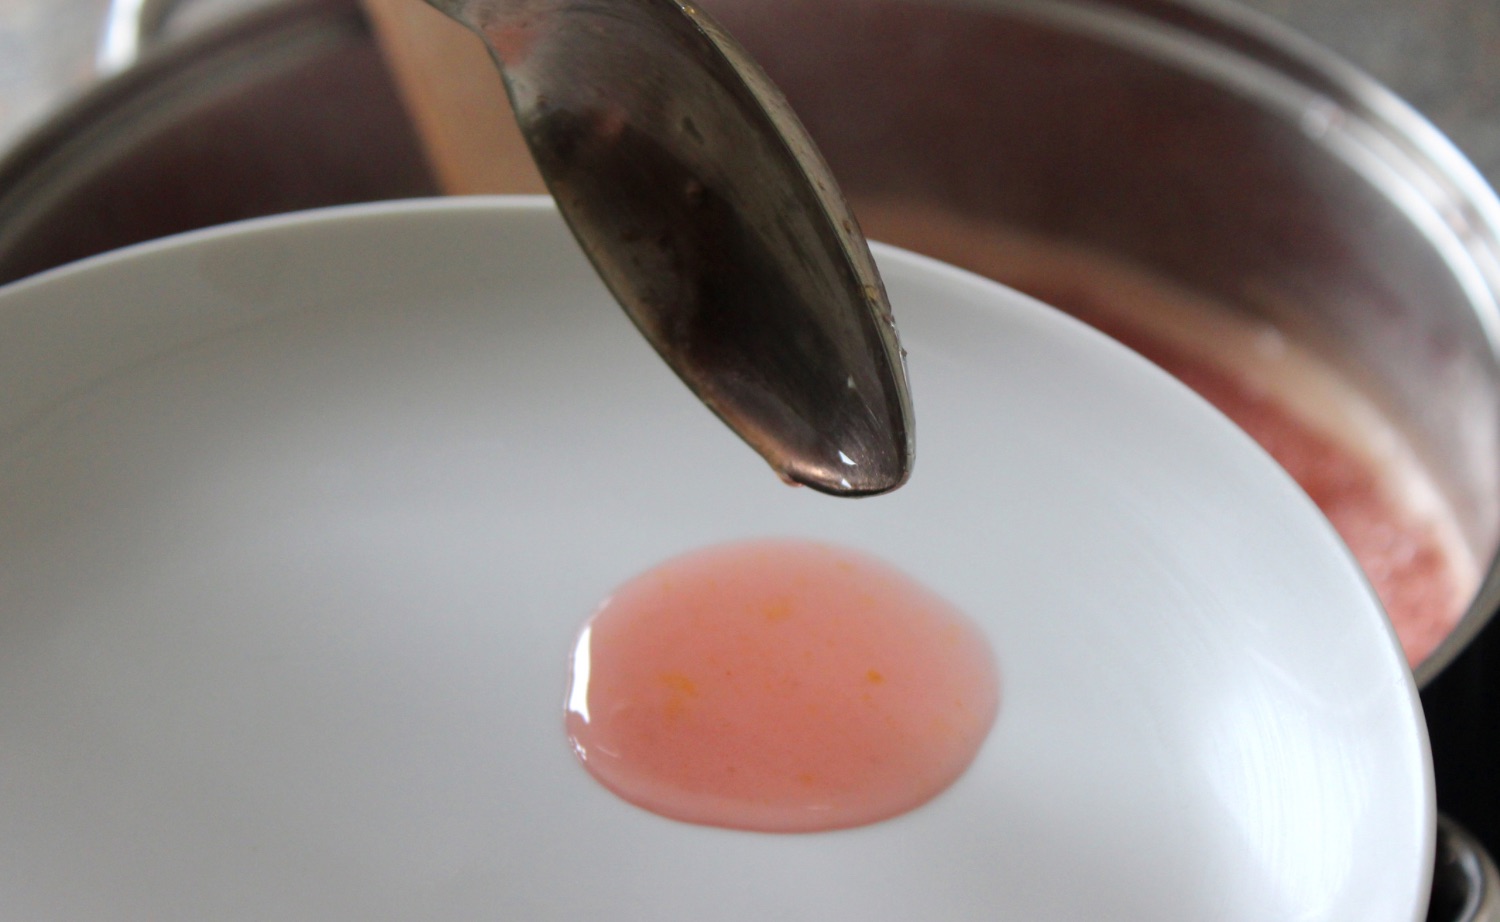
The wrinkle test is a simple, reliable way to check if your jam has reached the right setting point. It works by placing a spoonful of hot jam onto a cold plate, then running your finger through it. If the surface wrinkles, it’s ready to jar.
It’s called the “wrinkle” test because when jam is done, the sugars and pectin create a gel-like texture. When cooled quickly, that texture forms visible wrinkles on the surface when gently pushed — just like Grandma used to check.
🧊 How to Do the Wrinkle Test: Step-by-Step
Step 1: Chill Your Plate
Before you start cooking your jam, pop a small ceramic or glass plate into the freezer. You’ll need it icy cold so the jam cools quickly for an accurate test.
👉 Tip: Freeze 2–3 plates if you’re not sure how long your jam will take.
Step 2: Spoon Some Jam Onto the Plate
When your jam has been simmering and thickening for 20–40 minutes, take a small spoonful and drop it onto the cold plate. Let it sit undisturbed for 30 seconds.
Step 3: Push It with Your Finger
Now, gently push your finger through the blob of jam. If the surface forms soft wrinkles and doesn’t flood back in, your jam is done!
If the jam still runs like syrup or your finger leaves a smooth path with no resistance, it needs more time.
Step 4: Re-Test as Needed
Keep simmering the jam and repeat the test every 5 minutes until you see wrinkles. It’s a patient process — but so worth it for that perfect set.
👩🍳 Why the Wrinkle Test Works
Jam sets thanks to the natural pectin in fruit, plus the right balance of sugar and acidity. As you boil the mixture, water evaporates and the jam thickens. The wrinkle test checks the consistency after cooling — exactly how your jam will behave once it’s in the jar and chilled.
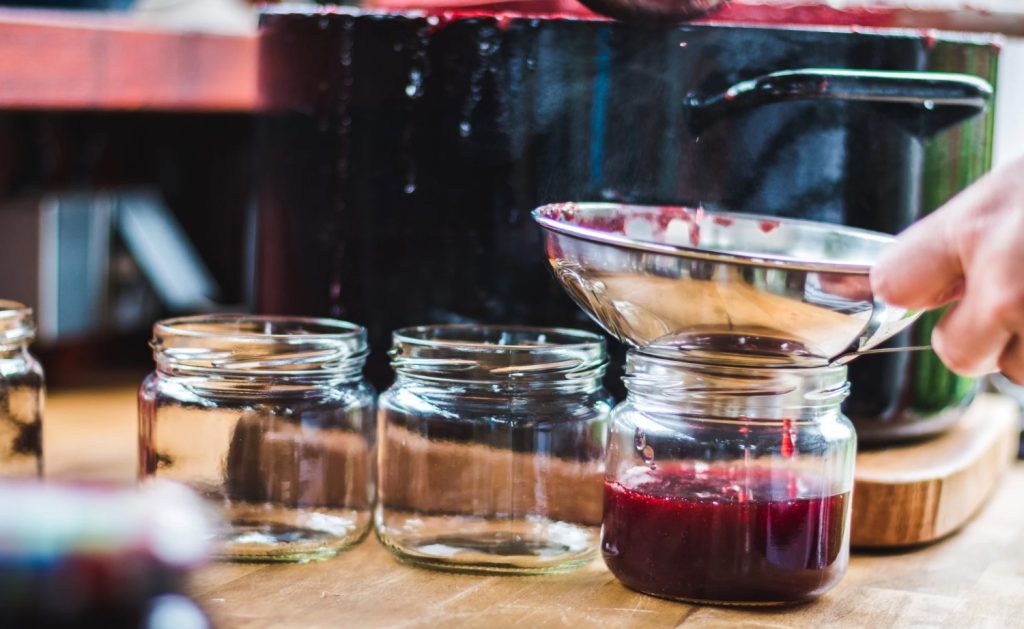
🫙 Bonus Tip: What If You Don’t See Wrinkles?
No worries — just keep cooking gently. You don’t want to rush jam over high heat (it can burn or go grainy). Keep stirring, simmering, and testing every few minutes.
Some fruits, like strawberries or peaches, have lower natural pectin, so they may take longer or need a little help from lemon juice or pectin powder.
❤️ My Thoughts
The wrinkle test is the easiest and most old-fashioned way to know when jam is ready — and you don’t need anything more than a plate and your finger.
Whether you’re making apricot jam, strawberry preserves, or plum chutney, mastering this test means no more runny spreads or overcooked jam. Just perfectly soft-set jars of fruity goodness, just like Grandma used to make.
So next time you’re in the kitchen, try the wrinkle test — and trust your instincts. Happy jamming!