🍑 A Beginner’s Guide to Fruit Preserving at Home
How to turn your harvest into homemade goodness you can enjoy year-round
There’s something deeply satisfying about opening a jar of summer peaches or homemade berry jam when the colder months roll in. Over the years, I’ve learned that preserving fruit isn’t just about saving food — it’s about capturing flavor, reducing waste, and filling your pantry with the sweet results of your hard work.
Fruit preserving not only allows you to enjoy seasonal flavors year-round, but it also enables you to experiment with different fruits in your recipes. Understanding the process of fruit preserving is essential for anyone who wants to minimize waste and maximize flavor.
This guide will provide insights into the wonderful world of fruit preserving, offering you a chance to discover various techniques that will enhance your culinary skills.
If you’re new to fruit preserving or want to refine your skills, this guide walks you through the best fruit preservation methods, along with step-by-step instructions, helpful tips, and what I’ve learned from doing it myself — all from a home kitchen garden.
In the realm of fruit preserving, the benefits go beyond just taste; it’s about creating your own flavors and enjoying the satisfaction of your hard work.
🍓 Why Preserve Fruit?
Preserving fruit at home gives you control over what you eat, saves money, and helps reduce food waste. If you grow your own fruit — even in a small backyard or balcony garden — preserving allows you to make the most of your harvest. And even if you buy fruit in bulk at farmers markets or when it’s in season, preserving helps stretch those flavors across the year.
When it comes to fruit preserving, the variety of methods available can make the process enjoyable and rewarding.
Plus, nothing beats the taste of homemade jam, fruit leather, or syrup made with love.
🛠️ The Best Fruit Preserving Methods
Let’s talk about the most popular and effective ways to preserve fruit. Each has its own strengths, depending on the type of fruit, your storage space, and how you like to enjoy it later.
1. Canning (Bottling)
Best for: Peaches, plums, apples, pears, cherries, berries
Canning is a tried-and-true method for long-term preservation. I personally use it for stewed fruit, jams, and chutneys. You’ll need sterilized glass jars, lids, and a water bath canner (or a deep pot with a rack).
Step-by-step for basic fruit canning:
- Wash, peel, and slice your fruit.
- Make a light syrup (sugar + water) if desired, or use fruit juice.
- Pack the hot jars with fruit and syrup, leaving headspace.
- Remove air bubbles, wipe jar rims, and seal.
- Process jars in a boiling water bath for 10–30 minutes depending on your recipe.
- Let cool and check seals. Store in a cool, dark place.
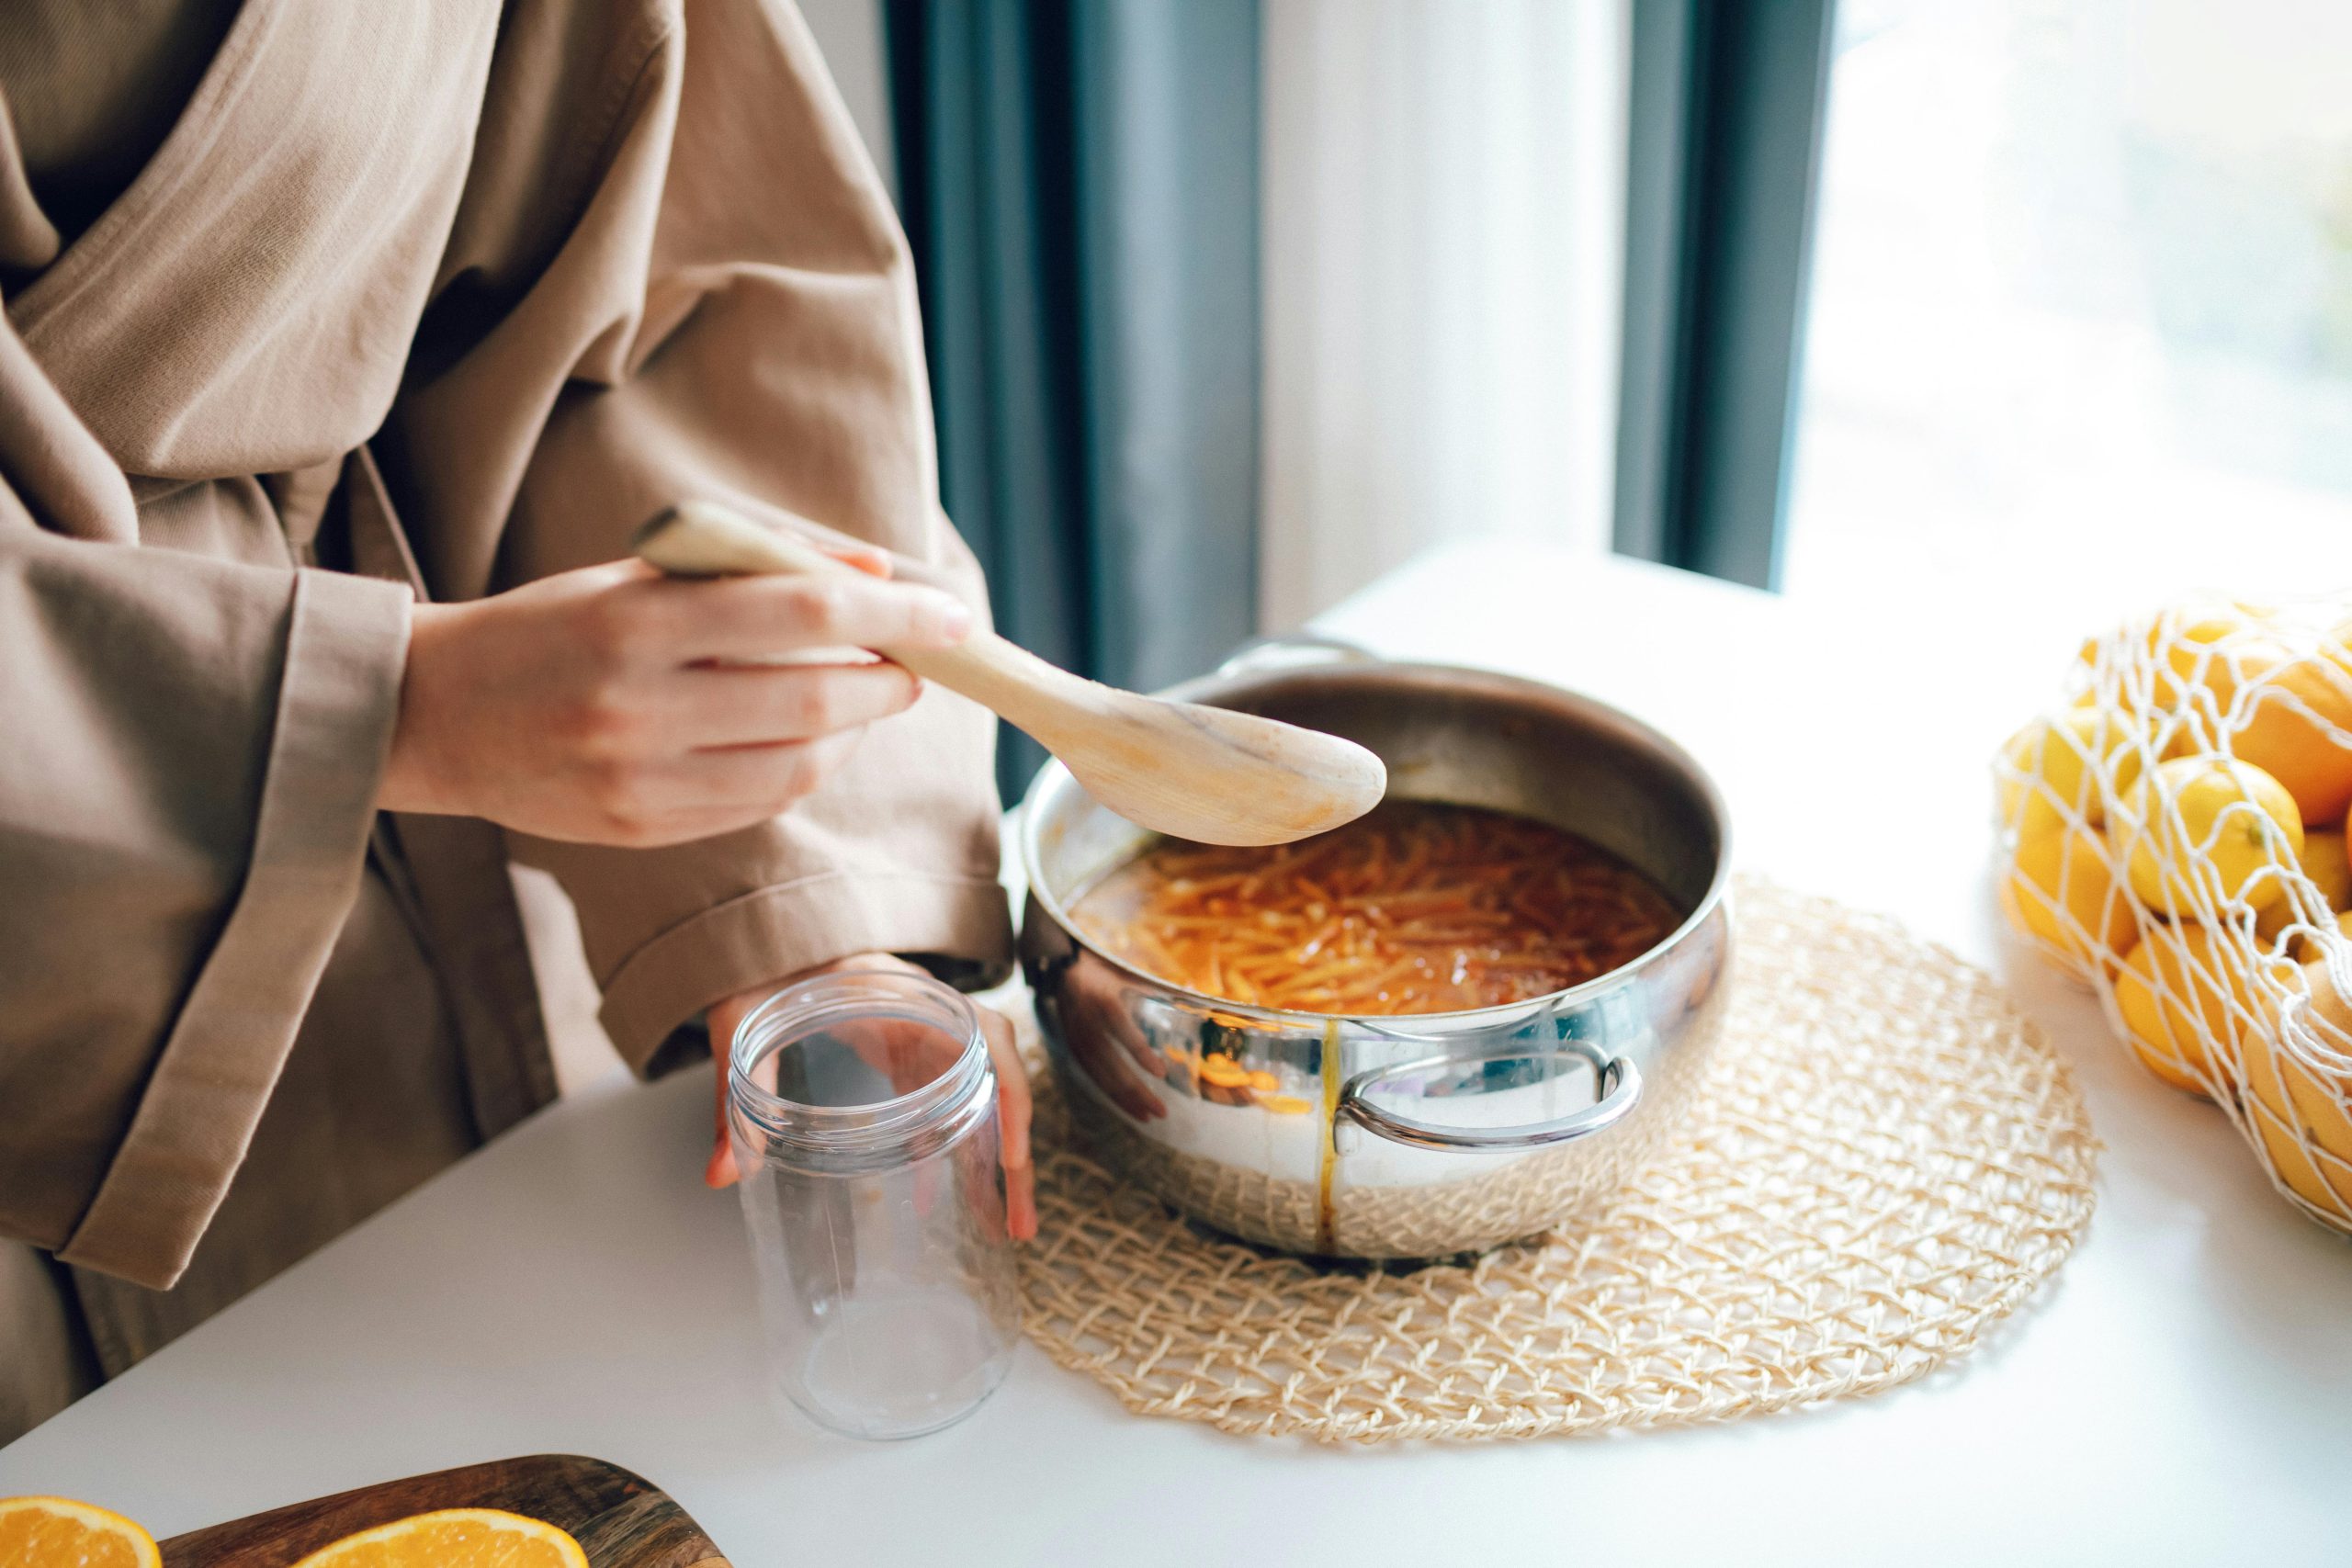
2. Jam and Jelly Making
Best for: Strawberries, blueberries, raspberries, apricots, citrus
Understanding the various techniques in fruit preserving can help you choose the best approach for your favorite fruits.
In jam and jelly making, the process involves careful attention to detail, making it a significant part of fruit preserving.
Jam-making is one of my favorite ways to preserve fruit. The process is simple and fills your kitchen with sweet aromas.
Quick steps for homemade jam:
- Combine fruit, sugar, and lemon juice in a large pot.
- Simmer and stir until thickened (use the wrinkle test to check if it’s ready).
- Pour hot jam into sterilized jars and seal.
- Process in a water bath for long-term storage or keep in the fridge for short-term use.
3. Freezing
Best for: Berries, mangoes, bananas, stone fruits
Freezing is fast and easy — no special equipment needed beyond freezer-safe containers or bags. I always freeze extra berries during peak season to use in smoothies, desserts, or compotes.
Tips for freezing fruit:
- Wash and dry fruit thoroughly.
- Slice or chop if needed.
- Lay fruit in a single layer on a baking tray to freeze, then transfer to containers.
- Label with the date and type of fruit.
Freezing is another excellent option in the fruit preserving toolkit, allowing for quick and easy access to your favorite flavors.
4. Dehydrating (Drying)
Best for: Apples, pears, bananas, apricots, mangoes, strawberries
Dehydrated fruit is perfect for snacking, hiking, or adding to muesli. You can use a dehydrator (my go-to is the Excalibur 8 tray Dehydrator ), or your oven at a low temperature.
Steps for dehydrating fruit:
- Slice fruit evenly and dip in lemon water to prevent browning.
- Arrange in a single layer on drying trays or baking sheets.
- Dry at 50–60°C (120–140°F) for 6–12 hours until leathery but not sticky.
- Cool, then store in airtight jars or vacuum-sealed bags.
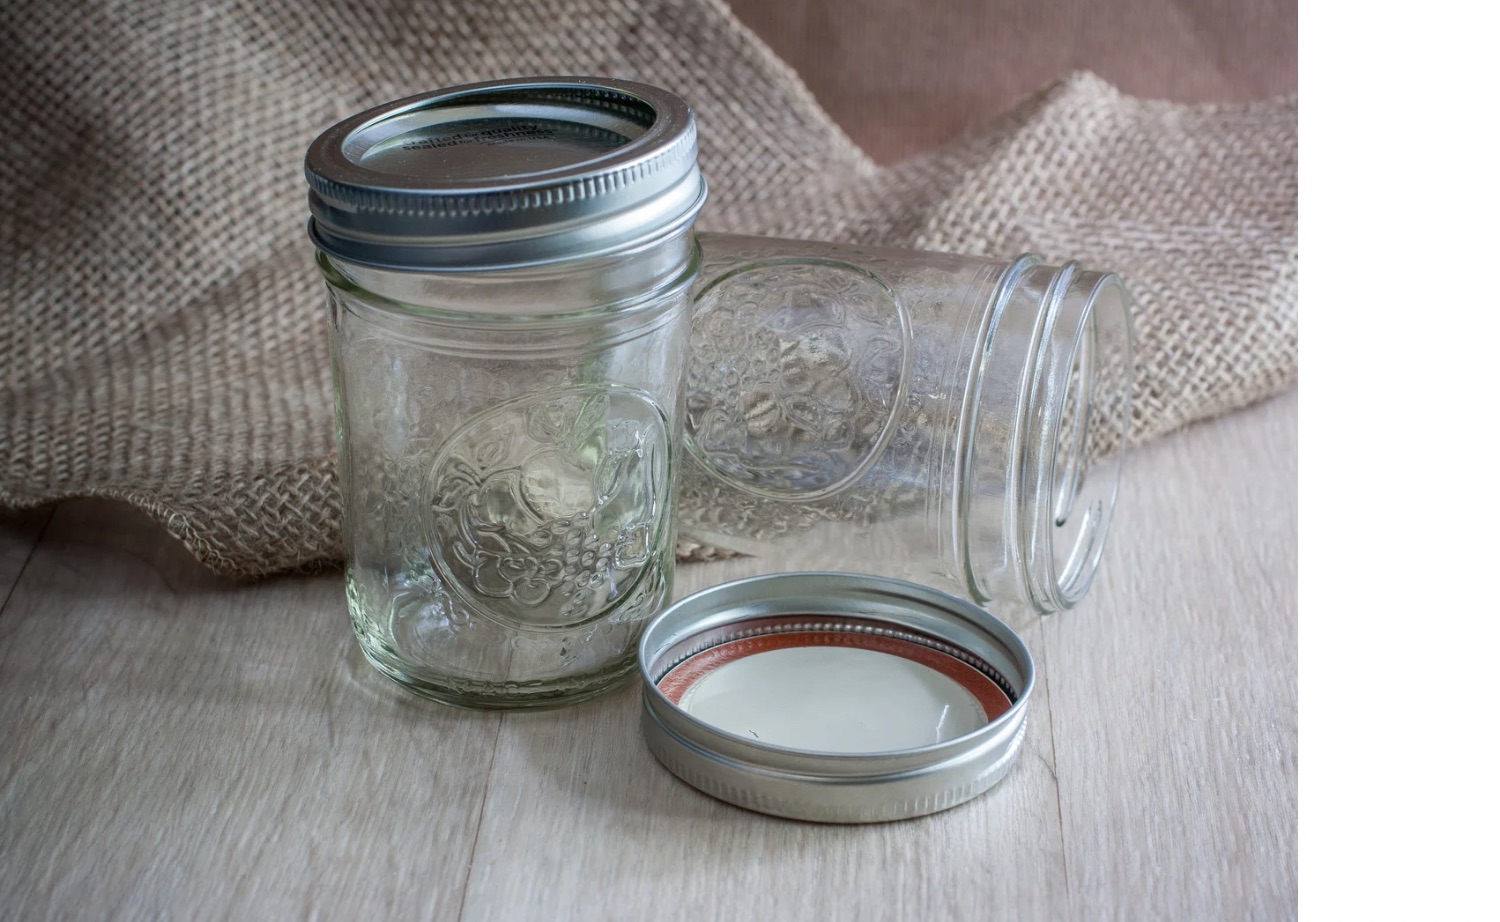
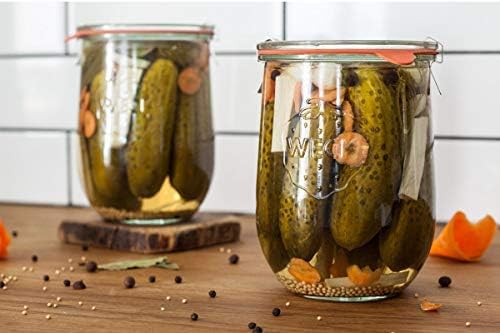
🫙 Choosing the Right Jars and Storage
For canning and jam, I recommend Ball Mason jars or Weck jars — both create excellent airtight seals and are reusable. For freezing, use BPA-free containers or silicone freezer bags. For dried fruit, glass jars or vacuum-sealed bags work best to keep out moisture.
Dehydrating fruit is an exciting aspect of fruit preserving that can yield delicious snacks for later enjoyment.
Label everything with the date so you can track freshness.
💡 Tips from My Home Kitchen
- Start small. Try preserving one type of fruit before jumping into big batches.
- Use ripe but firm fruit. Overripe fruit can lose flavor or texture during preserving.
- Sterilize your jars properly. It’s worth the time to avoid spoilage.
- Always test your seals. If a lid flexes up and down, it didn’t seal — refrigerate and use that jar first.
- Preserve what you actually eat. I learned the hard way — no one in my house eats marmalade, no matter how pretty the jars look!
🍑 My Thoughts
Preserving fruit at home has become one of my favorite ways to stay connected to the seasons and reduce waste. Whether you’re filling your pantry with jars of jam or freezing berries for smoothies, every method adds a little joy to your kitchen.
And don’t worry if you’re starting in a small space or with just a few tools — I began in a tiny apartment with one stockpot and a few mason jars. With each season, I learned a little more. So can you.
Happy preserving!